
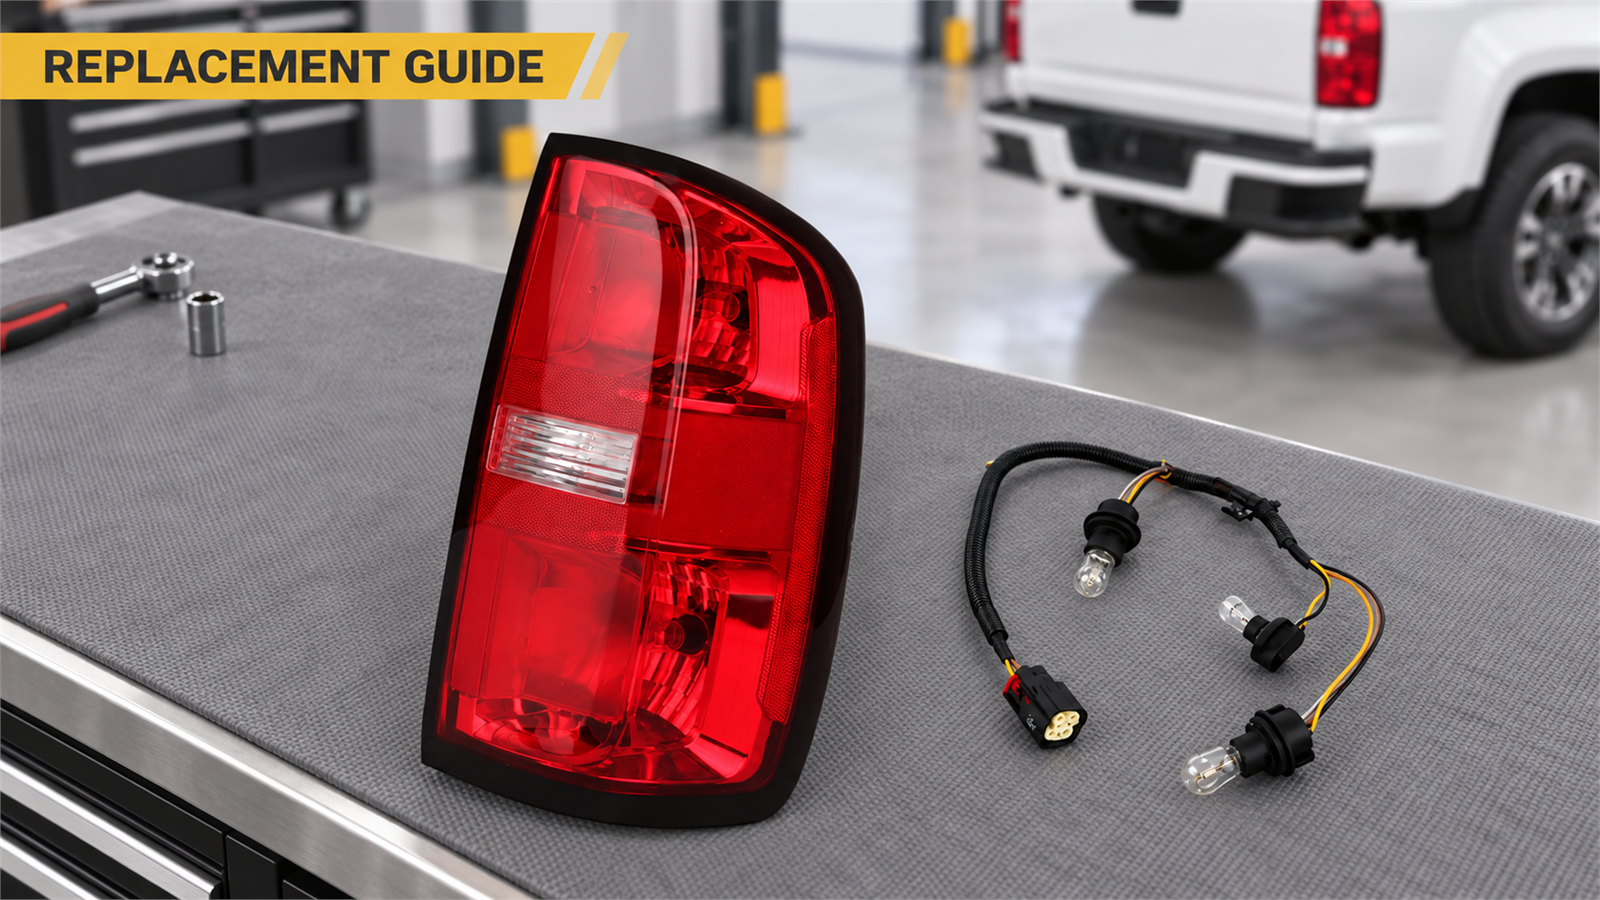
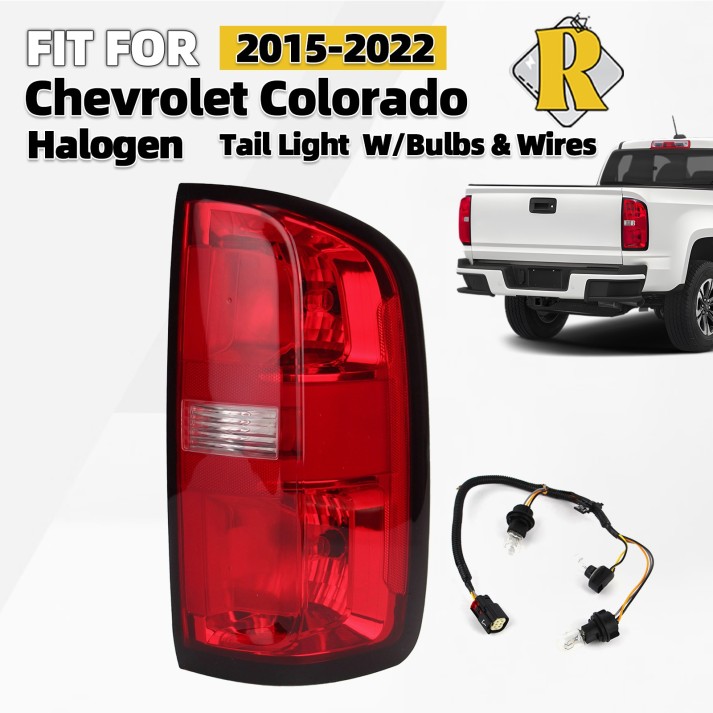
Chevrolet documents a clear rear-lamp removal sequence, and the Merton replacement includes bulbs and a wiring harness. A careful connector and socket comparison is still essential before installation.
Quick Answer
To replace a rear lamp on a 2015–2022 Chevy Colorado, open the tailgate, remove the two rear-lamp screws, pull the assembly outboard until the retainers release, and then pull it straight back. The Merton assembly includes bulbs and a wiring harness. Compare the connector and socket layout, connect the matching harness without pulling on wires, seat the assembly flush, and test every rear-light function.
Before You Remove the Tail Light
First decide whether the repair calls for a bulb or a complete housing. If the lens, housing, and mounting points are intact and only one function is out, use the exact owner’s manual to check bulb service before purchasing an assembly. This Colorado tail light diagnostic guide can help organize the first checks.
For a complete assembly replacement, confirm:
- Vehicle: 2015–2022 Chevrolet Colorado
- Position: Rear
- Side: Right/passenger/RH or left/driver/LH
- Lighting: Match the original configuration
- Physical match: Housing shape and mounting points
- Identification: OE/reference number and component connections
Merton’s featured replacement is for the right/passenger/RH side and is listed as halogen with OEM 84630993. It is not a driver-side lamp. Review the passenger-side fitment and OEM guide before ordering.
Prepare the Truck
Park on a level surface, apply the parking brake, switch off the exterior lights and ignition, and allow hot components to cool. Keep the keys with you so another person cannot start or move the truck while you work.
Open the tailgate and inspect the two visible rear-lamp screws. Use a hand tool that fully fits the actual screw head on your truck. The Chevrolet manual confirms two screws but does not provide a universal driver size or torque value in this procedure.
Remove the Rear Lamp Assembly
Chevrolet’s 2015 and 2022 manuals give the same basic sequence:
- Open the tailgate.
- Remove the two rear-lamp assembly screws.
- Pull the assembly outboard, away from the box side, until the retainers release. A release noise is expected.
- Pull the assembly straight back to remove it from the vehicle.
Use controlled pressure and support the assembly as it releases. Do not twist it against the painted box side or pull on wiring.
Connect the Included Wiring Harness
The Merton replacement includes bulbs and a wiring harness. Keep the original assembly intact until the replacement has been connected and tested.
Before disconnecting anything, compare the new assembly with the original:
- Compare the number and location of sockets.
- Compare the connector and locking features.
- Check wire routing and retention points.
- Check that the mounting points and overall housing match.
Photograph the original routing if it will help with reinstallation. Release the original harness at the vehicle-side connector using the connector’s actual locking feature, and pull on the connector body rather than the wires. Connect the replacement harness only when the connector matches, make sure it is fully seated, and route the wire as the original was routed.
Do not force a connector, cut wiring, or transfer the original bulbs or harness simply to make a mismatch work. If the connectors differ, use Merton Fitment Help and provide photos of both assemblies and the truck’s information.
Seat and Secure the Assembly
After the correct components are installed and the connection is secure, check that the retainer ring is in position. Align the assembly and push it straight in until seated against the vehicle.
The Chevrolet manual instructs owners to make sure the rear lamp assembly is flush with the box side, then reinstall the two rear-lamp screws. Use the correct vehicle service information if a torque specification is required; do not guess.
Test Every Rear-Light Function
With the truck safely parked, test the functions that apply to the rear assembly:
- Parking or running light.
- Stop/brake light.
- Turn signal.
- Reverse light.
Also confirm that the assembly remains flush and secure. If a light function is still out, switch the vehicle off and diagnose the bulb, socket, connector, fuse, ground, or wiring using model-year service information. Replacing the housing cannot correct every electrical fault.
Frequently Asked Questions
How many screws hold the Colorado rear lamp assembly?
The cited 2015 and 2022 Chevrolet owner’s manuals identify two rear-lamp assembly screws. Inspect the actual fasteners and use the correct-fitting hand tool.
Which direction should I pull the tail light?
Chevrolet directs owners to pull the assembly outboard away from the box side until the retainers release, then pull it straight back from the vehicle.
Do I need a specific screwdriver or torque value?
The owner-manual steps confirm two screws but do not provide a universal tool size or torque value in this procedure. Match the existing fastener and consult exact service information when a specification is needed.
Do I transfer the original bulbs and wiring?
The Merton replacement includes bulbs and a wiring harness, so do not transfer the original bulbs or harness unless Merton specifically instructs you to do so. Compare the connectors and socket layout before installation.
Which side is the Merton assembly?
The featured Merton assembly is rear right/passenger/RH and is listed as halogen for 2015–2022 Chevrolet Colorado applications. Confirm fitment before ordering.